A universal guide for houseplants, carnivorous plants, orchids, and more
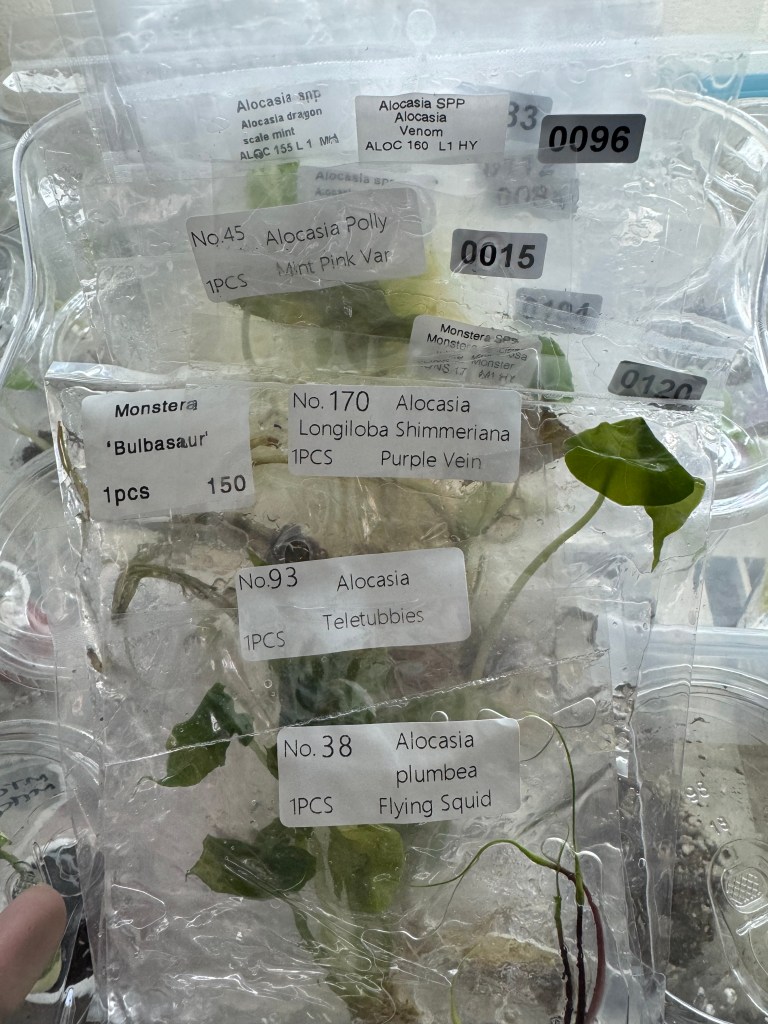
Tissue culture (TC) plants give growers access to clean, pest-free, and often rare genetics — but their success depends almost entirely on how they are acclimated after leaving the lab.
Whether you’re growing tropical houseplants, orchids, or carnivorous plants, the principle is the same:
tissue culture plants must be transitioned slowly from a sterile, high-humidity environment to ambient conditions.
This guide follows professional acclimation practices taught by established labs and educators such as Plant Cell Technology, but adapted for real-world home growing.
Why tissue culture plants need acclimation
All tissue culture plants — regardless of species — are grown:
- In near-100% humidity
- With no airflow
- In sterile containers
- Using agar or gellan gum instead of soil
Because of this, they have not yet developed:
- Functional stomata for regulating water loss
- Protective leaf cuticles
- Roots adapted to non-sterile substrates
This is true for Monstera, Anthurium, orchids, Nepenthes, Drosera, and Venus flytraps alike. The difference is not whether they need acclimation — only how slowly some species must be transitioned.
Before you deflask: prepare the environment
These conditions apply universally to tissue culture plants.
Light
Bright, indirect light only. Avoid direct sun during early acclimation.
Temperature
Warm, stable temperatures with no sharp day/night swings.
Substrate
Use a clean, airy medium appropriate for the plant type. The substrates that have worked best for me during the tissue culture acclimation process is peat moss or vermiculite.
Humidity
Start very high and reduce gradually over weeks, not days.
Step-by-step: deflasking tissue culture plants (Day 1)
1. Rest after shipping (Day 0–1)
If the container is intact, keep it sealed for ~24 hours after arrival. This allows temperature and stress to normalize.
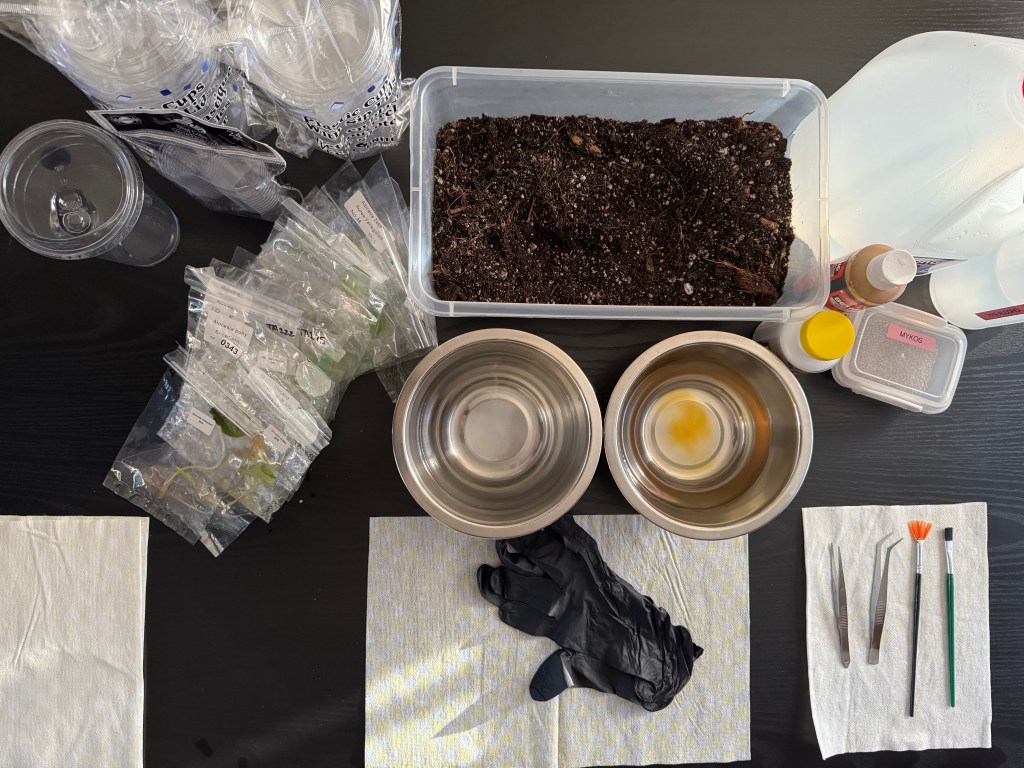
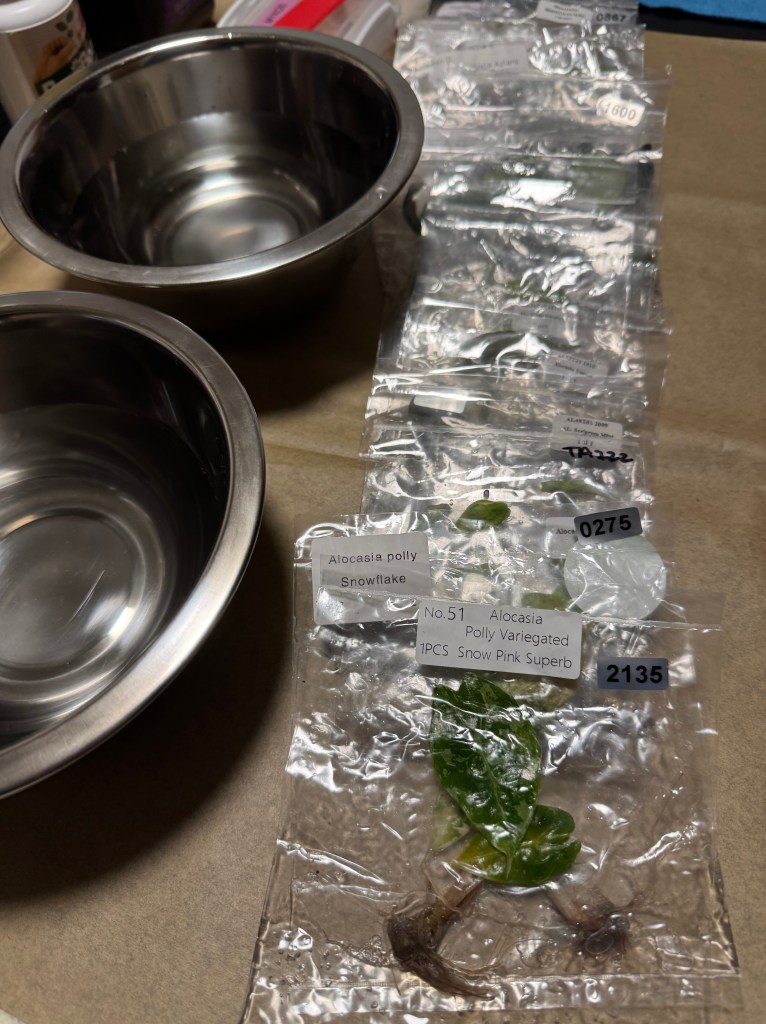
2. DISINFECT AND PREPARE DEFLASKING SETUP
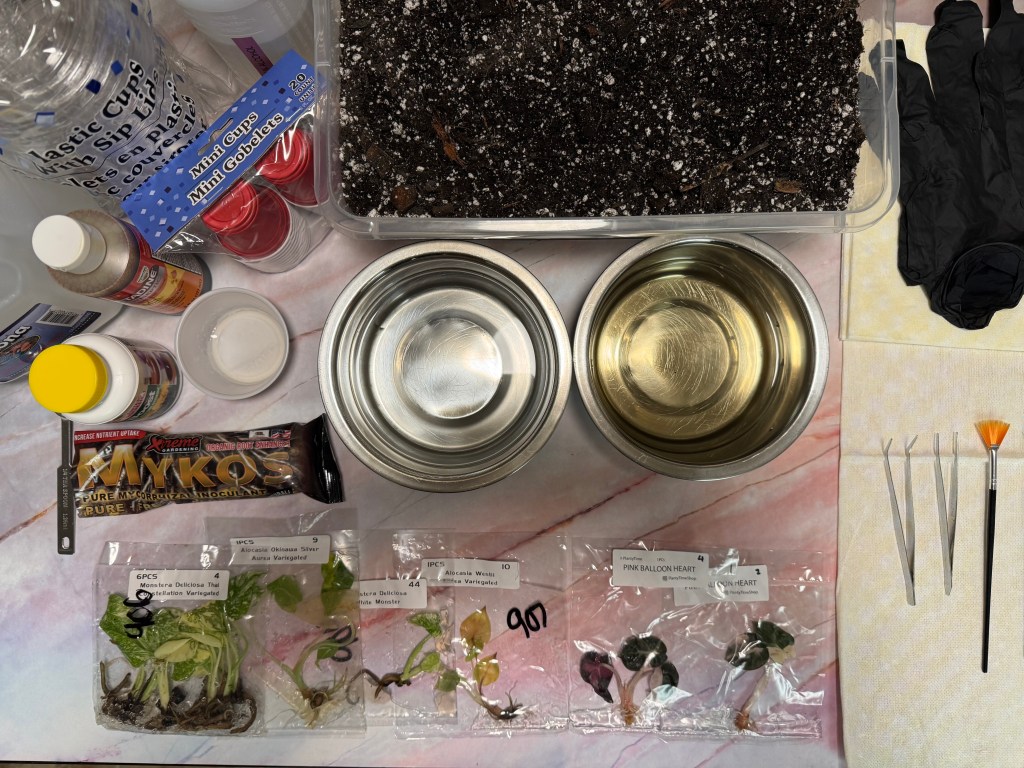
Using two bowls, fill one bowl with approximately 3 cups of distilled water and 1 tablespoon of hydrogen peroxide OR 4 drops of Betadine (which will tinge the water yellow, as seen in the photo below).. In the second bowl, fill with distilled water only.
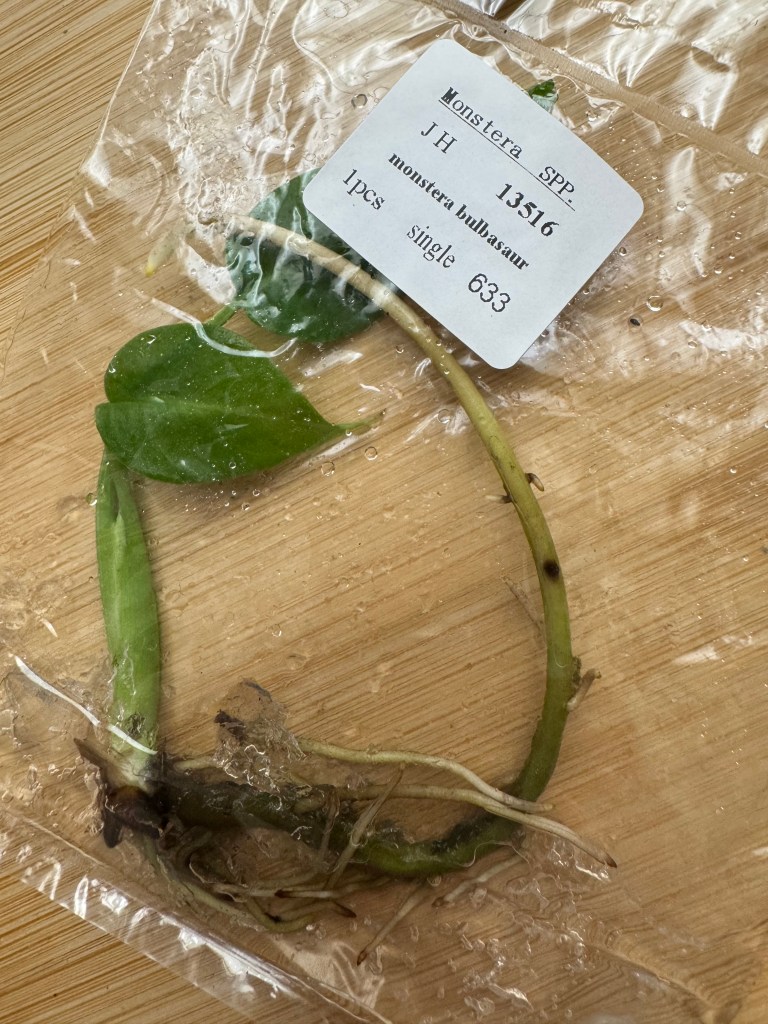
Carefully cut open the baggie and slide the plantlet out. Avoid pulling on leaves or roots.
3. Rinse off all agar or gel
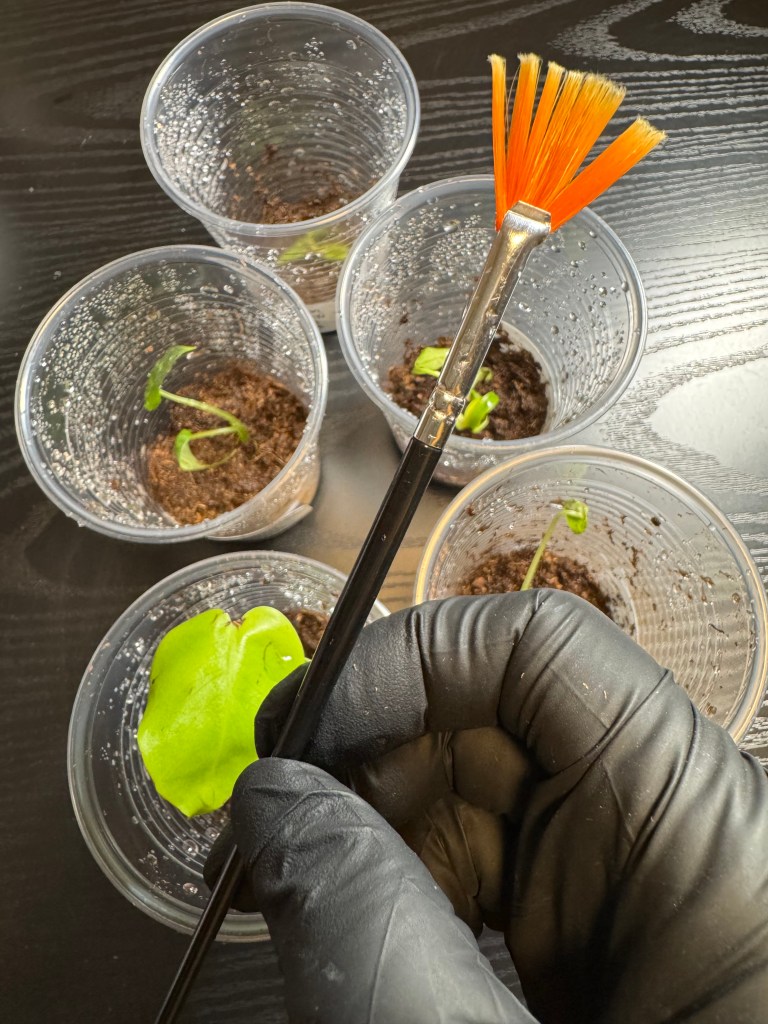
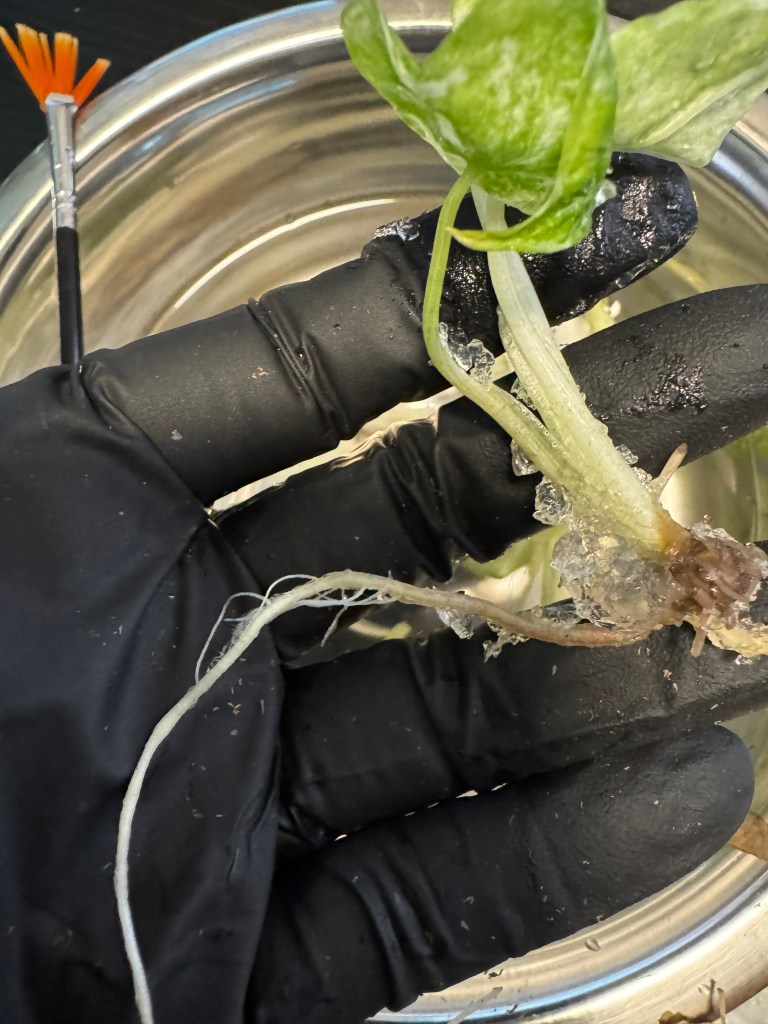
Thoroughly remove agar/gel from the roots and leaves with the hydrogen peroxide/Betadine mixture. Use a fan brush to ensure tight spots like the crevices of the petioles have been thoroughly cleaned.
Thoroughly rinse plantlet in the second bowl filled with distilled water. Any agar/gel left on the plantlet can promote rot or microbial growth once planted.
(Note: some tissue culture plants are sold with a black colored agar/gel. This is activated charcoal used to minimize potential contamination of the tissue culture.)
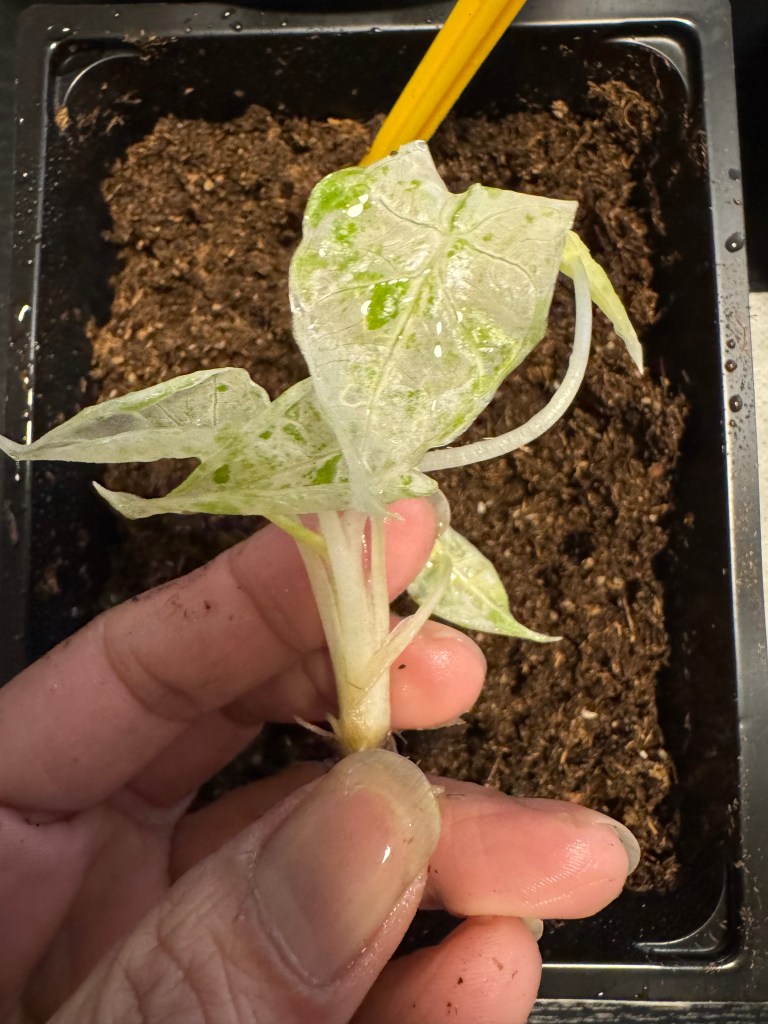
4. Pot immediately
Place plantlets into pre-moistened substrate suited to the plant’s needs. Keep crowns or growth points above the surface — particularly Alocasias.
While you can generally use your favorite potting soil mix, or grow plugs, to acclimate plant tissue cultures, I have found that peat moss or vermiculite work just fine. I personally don’t like using aqua soil (e.g., Fluval Stratum) to acclimate tissue culture. Not because it doesn’t work, but because it dries out too fast for my watering style and it’s expensive without a perceived benefit.
Also, in my experience, rooting powder may have actually suffocated my tissue culture plantlets. I don’t think it’s necessary at this young stage, and is probably more beneficial to add when your plantlet has grown large enough to be repotted. I would also recommend saving your Mykos until the plantlet needs to be repotted. You’ll not only save money, but you’ll likely save your baby plant.
5. Cover to maintain high humidity
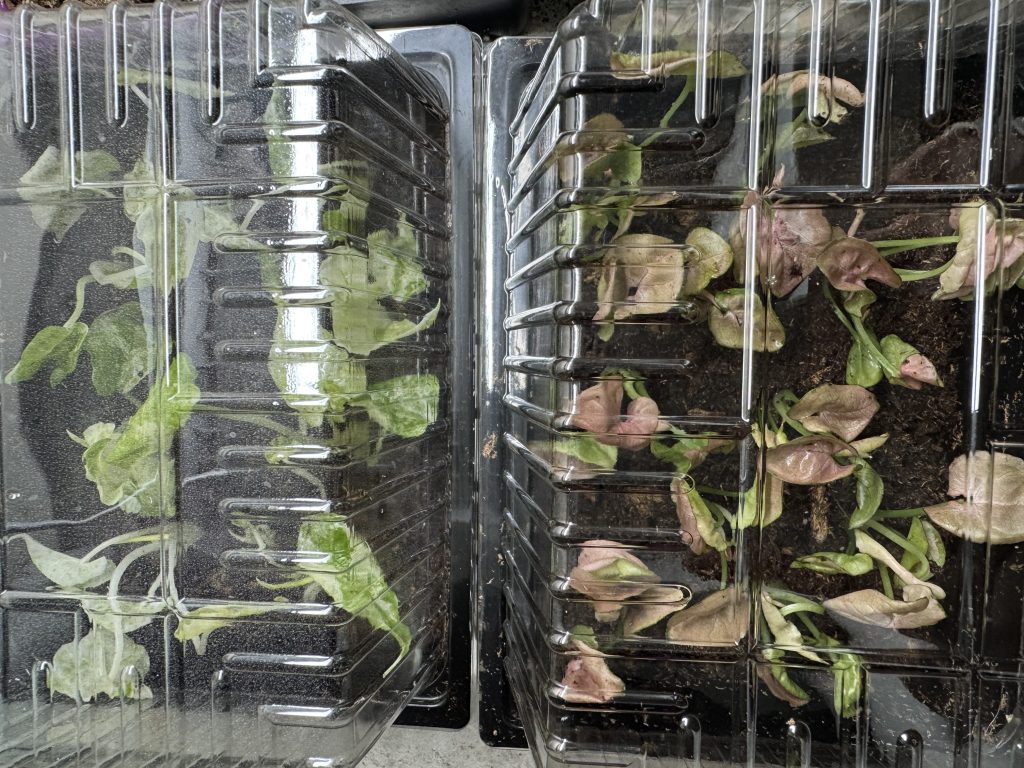
Use a clear dome, resealable plastic bag, or enclosed propagation box. You don’t need special equipment —these are $1.75 mini greenhouses from Dollar Tree. I also regularly use disposable plastic cups with lids to recreate the high-humidity conditions the plant has always known.
Humidity meters are very useful and recommended to monitor the humidity level inside the dome, bag, or prop box.
Step 6: Lighting During Tissue Culture Acclimation
Light is a critical part of tissue culture acclimation, but more light is not better during the early stages. Tissue culture plants are grown under low to moderate, evenly diffused lab lighting and have not yet developed the protective leaf structures needed to tolerate strong or direct light.
Recommended light type
- Bright, indirect light only
- No direct sun at any point during early acclimation
- Diffused grow lights or shaded windows are ideal
Tissue culture plants should be able to “see” light without feeling heat.
ACCLIMATION TIMELINE
Successful tissue culture acclimation isn’t about rushing or guessing — it’s about timing. Plants grown in sterile, high-humidity lab environments need a slow, intentional transition to ambient conditions so their roots, leaves, and water regulation systems can develop properly. The acclimation timeline breaks down this process into clear stages, showing exactly when and how to gradually reduce humidity and increase exposure. Follow this schedule step by step, and you’ll give your plants the best opportunity to thrive beyond a laboratory environment.
Final thoughts
Tissue culture plants are not difficult — they are simply unfinished when they leave the lab.
Whether you’re growing tropical foliage, orchids, or carnivorous plants, success comes from respecting the transition from sterile perfection to real-world conditions.
Slow acclimation builds stronger plants, better roots, and long-term resilience — and that patience pays off every time.
Good luck and have fun!

Leave a comment